ADDING CUSTOMERS TO AN ADMINISTRATION ACCOUNT
The Customer feature within the Sunsynk.net portal is designed for administrative purposes. It enables you to seamlessly incorporate all your customers into your admin account, granting you the ability to manage their access directly from the app. Please note that this does not refer to access within their plant. In order to add customers, you must have Installer User Level Access, which you can request at www.sunsynk.org/remote-monitoring Please ensure you complete this step before proceeding with the rest of the instructions in this manual.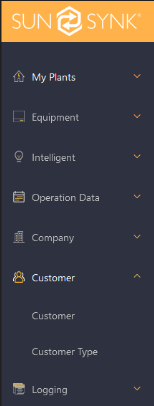
How to Utilize the Customer Feature
Within the Customer section on Sunsynk.net you will find two different tabs in the drop-down menu. The steps outlined below are presented in the recommended order to follow:
Customer Type: In this tab, you can create a Customer Type for your customers, similar to the roles defined in the Company section for installers. When configuring a Customer Type, you’ll need to specify which portal features you want to grant access to your installers. These include fundamental functionalities like Create Plant, Add Gateway, Share Plant, as well as more advanced options like Delete Inverter, Firmware Upgrades, and Operational Data. Please create these roles at your own discretion, however, we advise granting only basic access unless the customer demonstrates a comprehensive understanding of the installed system.
To create a Customer Type, click the ‘Add’ button located in the upper-right corner of the screen.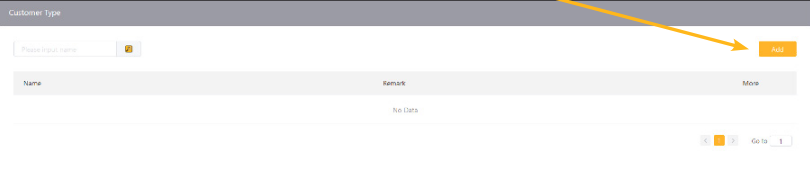
Next, provide a name for the Type.
Afterward, you will need to select each checkbox corresponding to the access permissions you wish to grant to the chosen ‘Customer Type’. Once done, save your selections by clicking ‘Save’ at the bottom. If necessary, you can modify or remove roles by accessing the More options and clicking on the respective buttons.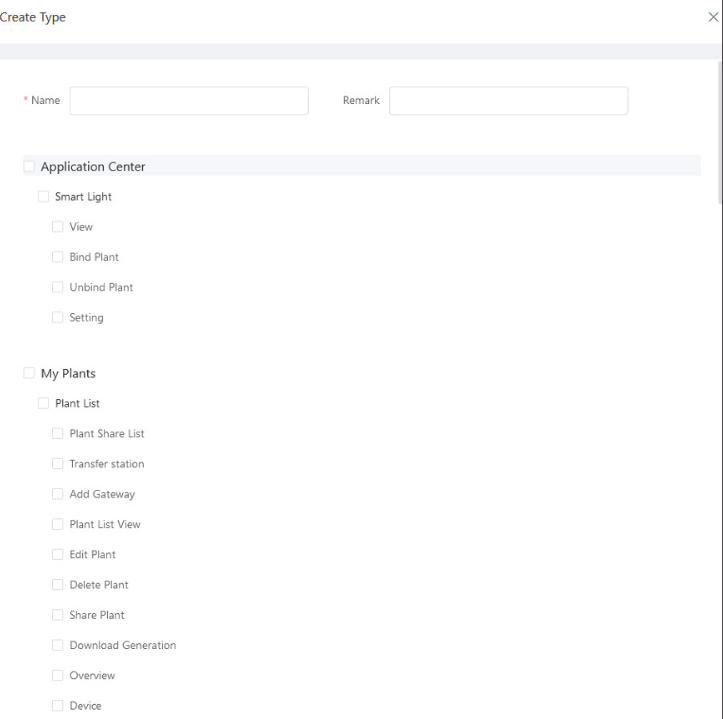
Customer: This tab allows you to incorporate customers into your Admin Account and allocate them a specific Customer Type. Please ensure that all the customers you intend to include in your company have already registered accounts before proceeding.
To add a customer to your Admin Account, simply click ‘Add’ located in the upper-right corner of the screen.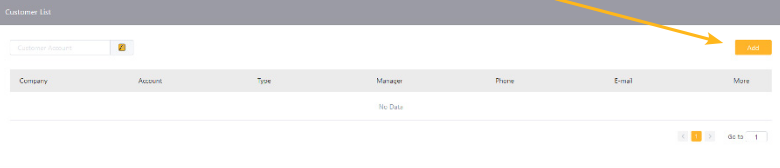
In the Account field, please enter the customer’s username (the email they used during registration), and then choose an appropriate Customer Type for them. If you are installing the system on behalf of a company or performing multiple installations for the same company, you have the option to set the company name for convenient reference prior to clicking Confirm.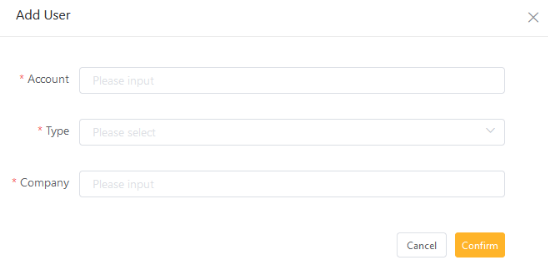
To modify a Customer’s Type, rename their company, or remove them from your Admin Portal in case of any need, simply click the corresponding button located under the More options.
Was this article helpful?
That’s Great!
Thank you for your feedback
Sorry! We couldn't be helpful
Thank you for your feedback
Feedback sent
We appreciate your effort and will try to fix the article